
Motivation
So, you want to run some fine-tuning or large-scale batch inference jobs with a GPU? No problem! Use Jupyter and leave it running for several days, or wait—your engineering team might be mad about this.
No worries at all! Package it as a Docker container and run it overnight somewhere in the cloud. This will keep them quiet! It has never been easier, has it?
Let’s check!
In this blog post, I want to explore the current state of running GPU jobs, especially in a serverless way and try each product for simple use-case!
If you find this topic interesting and want to explore running experiments in more depth, consider enrolling in my mini-course about Experiments. Additionally, for those looking to master the entire ML production journey end-to-end, my full course "Machine Learning in Production" includes the Experiments mini-course as part of its comprehensive curriculum.
Disclaimer: If you build a piece of software and at least one person uses it, I have huge respect for you! It’s very hard to do! So consider any criticism of a product as entertainment and only my point of view. Corrections and opposite views are always welcome!
TLDR
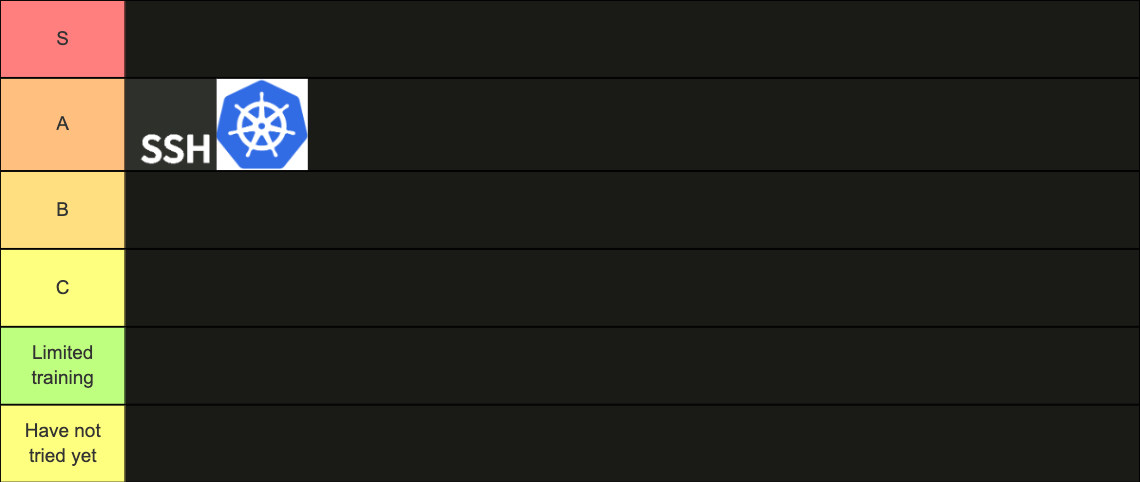
If you don’t want to read it all, just see this picture. It should summarize everything!

Use-case
We need a simple example to test GPU platforms and a clear set of criteria. For sure, each specific example will have its own needs, but we need to start somewhere, so I picked one that I think is easy to adapt further.
The use case we are going to build is the text-to-SQL problem and LLM training.
For datasets, I am going to use a pretty classic one: b-mc2/sql-create-context. For training the model, I am going to use phi-3-mini. The code is simple and is an adaptation of the phi-3 cookbook from Microsoft.
Does this use case make sense? In short, yes! Here are the metrics on the test dataset for GPT, prompted Phi-3, and trained Phi-3. So, at a fraction of the cost of GPT, you get much better performance.
| Approach | ROUGE-L | ROUGE-2 |
| Prompted GPT-4o | 0.91 | 0.85 |
| Prompted Phi-3 | 0.87 | 0.81 |
| Fine Tuned Phi-3 | 0.98 | 0.97 |
Full code is located here and docker image here. And I am going to use the WandB logger for metrics and HuggingFace Hub for my model weights.
Okay, what are our criteria?
Hight level I would care about next four pillars:
- Setup effort: how hard it to setup this platform and start using it from scratch.
- Dev UX: Assuming I need to work with it dayli and minimusing suffering is great critiria to have.
- Scalability: If we are successfull as company, number of models, use-cases, etc will grow. So how does platform scales with those.
- Price: Self-explanatory.
Now we have a use case and a list of criteria – let’s start!

SSH into Virtual Machine
Good old SSH access. You just go into the machine, ignore all MLOps practices (sometimes for good), and start rolling your training! So nice! We’ve all done this at some point in our journey, and it’s extremely flexible.
For my example, I used Lightning Studio, mostly because it’s easy to start with. All drivers are installed, there’s a VS Code interface, and I can do all preprocessing on a free machine and transfer everything to the GPU once done.
Flow:
git clone https://github.com/kyryl-opens-ml/gpu-jobs-comparison/
cd gpu-jobs-comparison/

export HF_TOKEN=*****
export WANDB_PROJECT=gpu-jobs-comparison
export WANDB_API_KEY=*****
exprot RUN_NAME=phi-3-text2sql-ssh

pip install -r requirements.txt
python text2sql_training.py
And just wait till it’s done! Don’t forget to turn the VM off afterward.
I also love to connect my desktop VS Code.
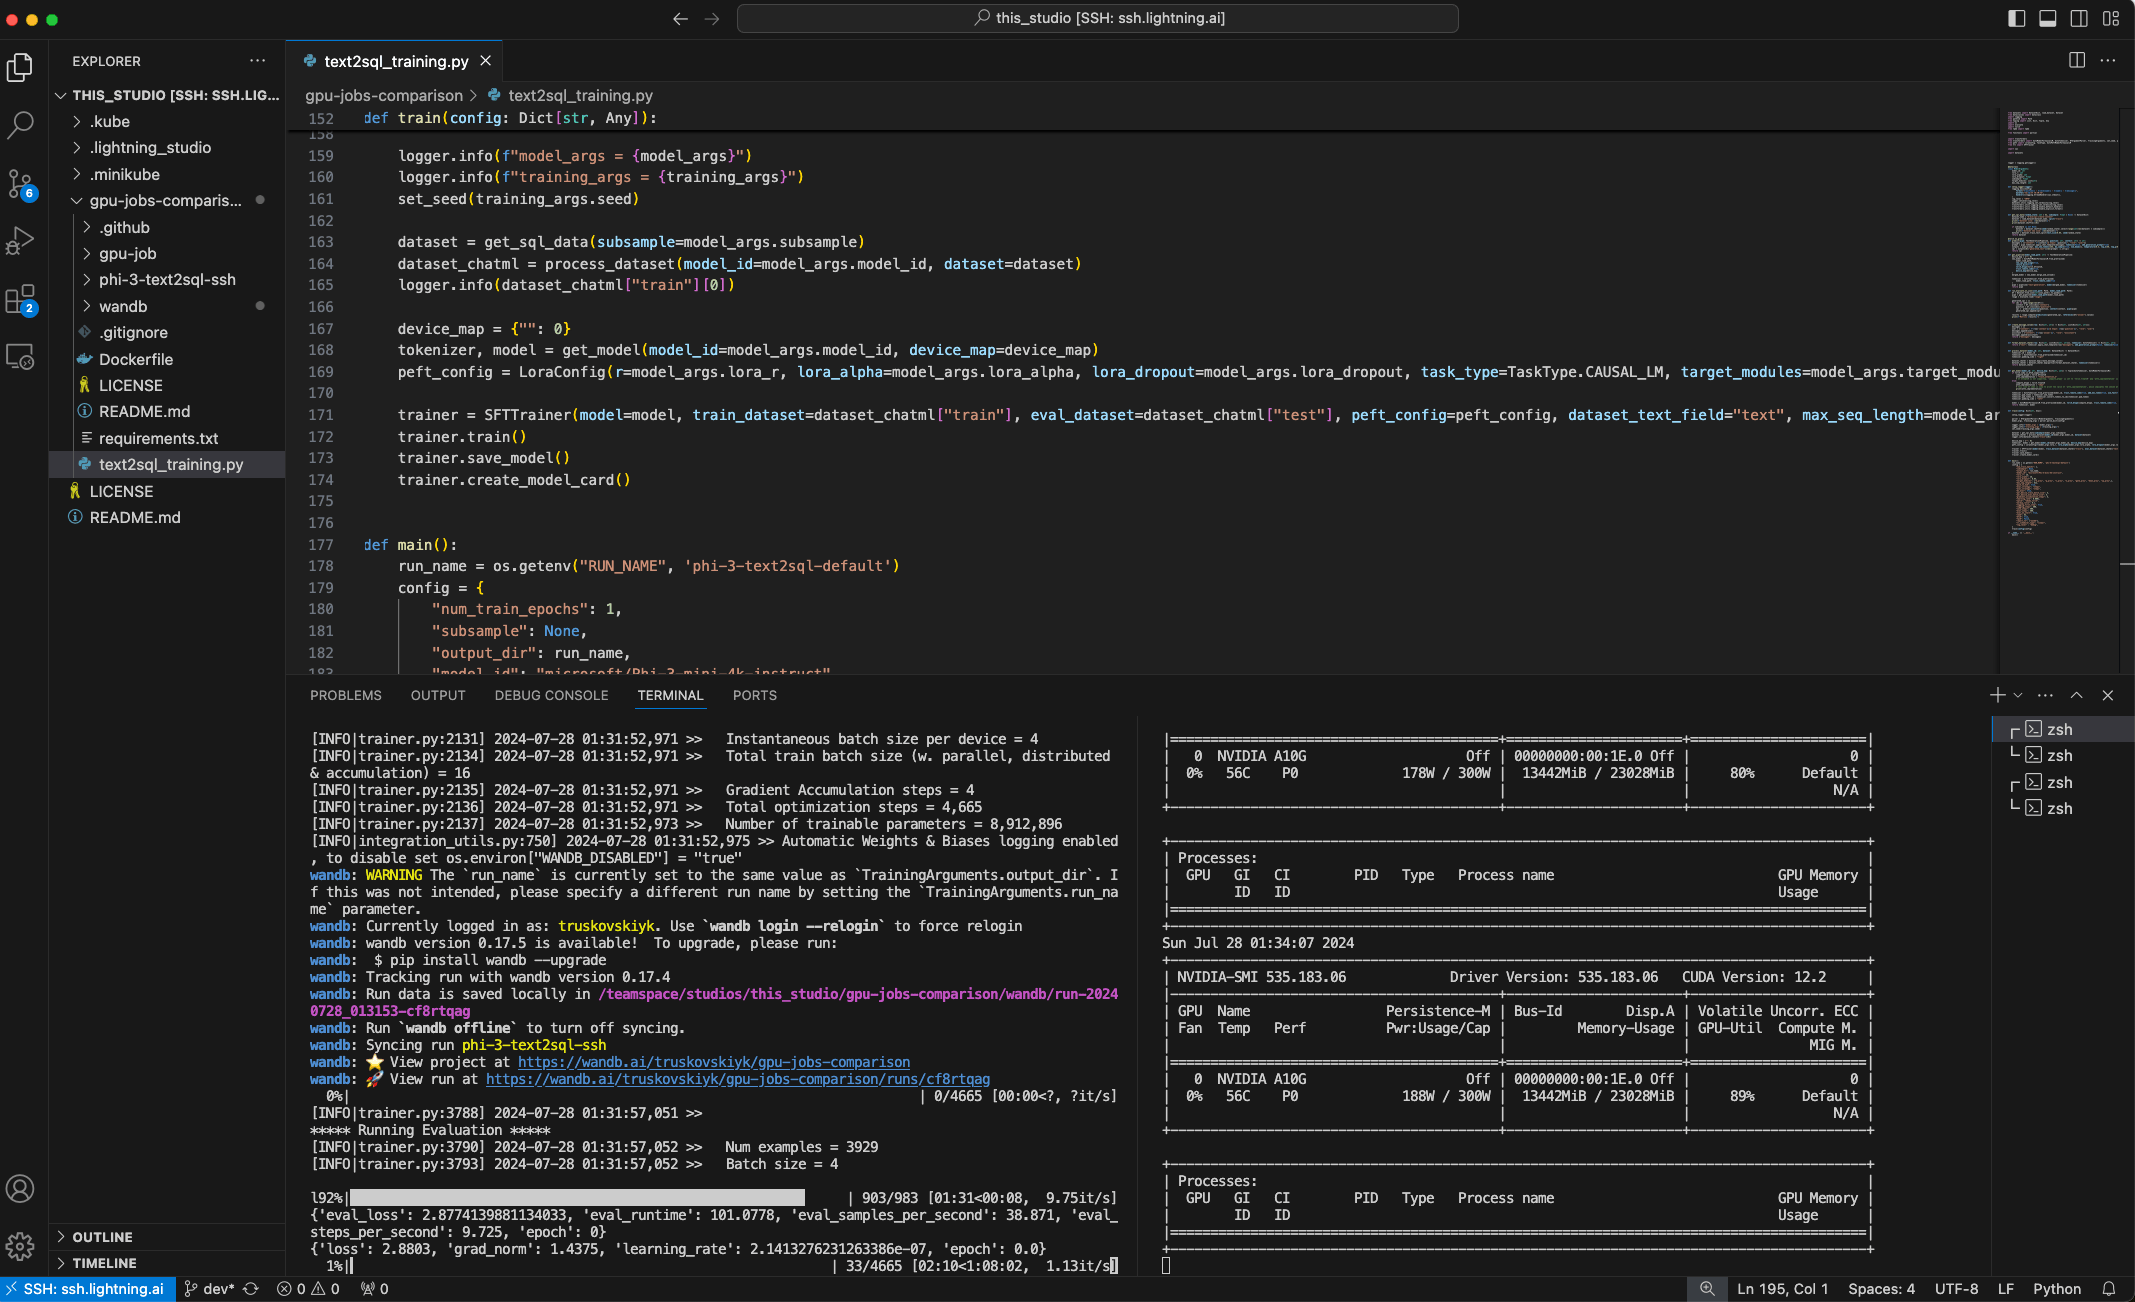
Or you can run it on the service itself:
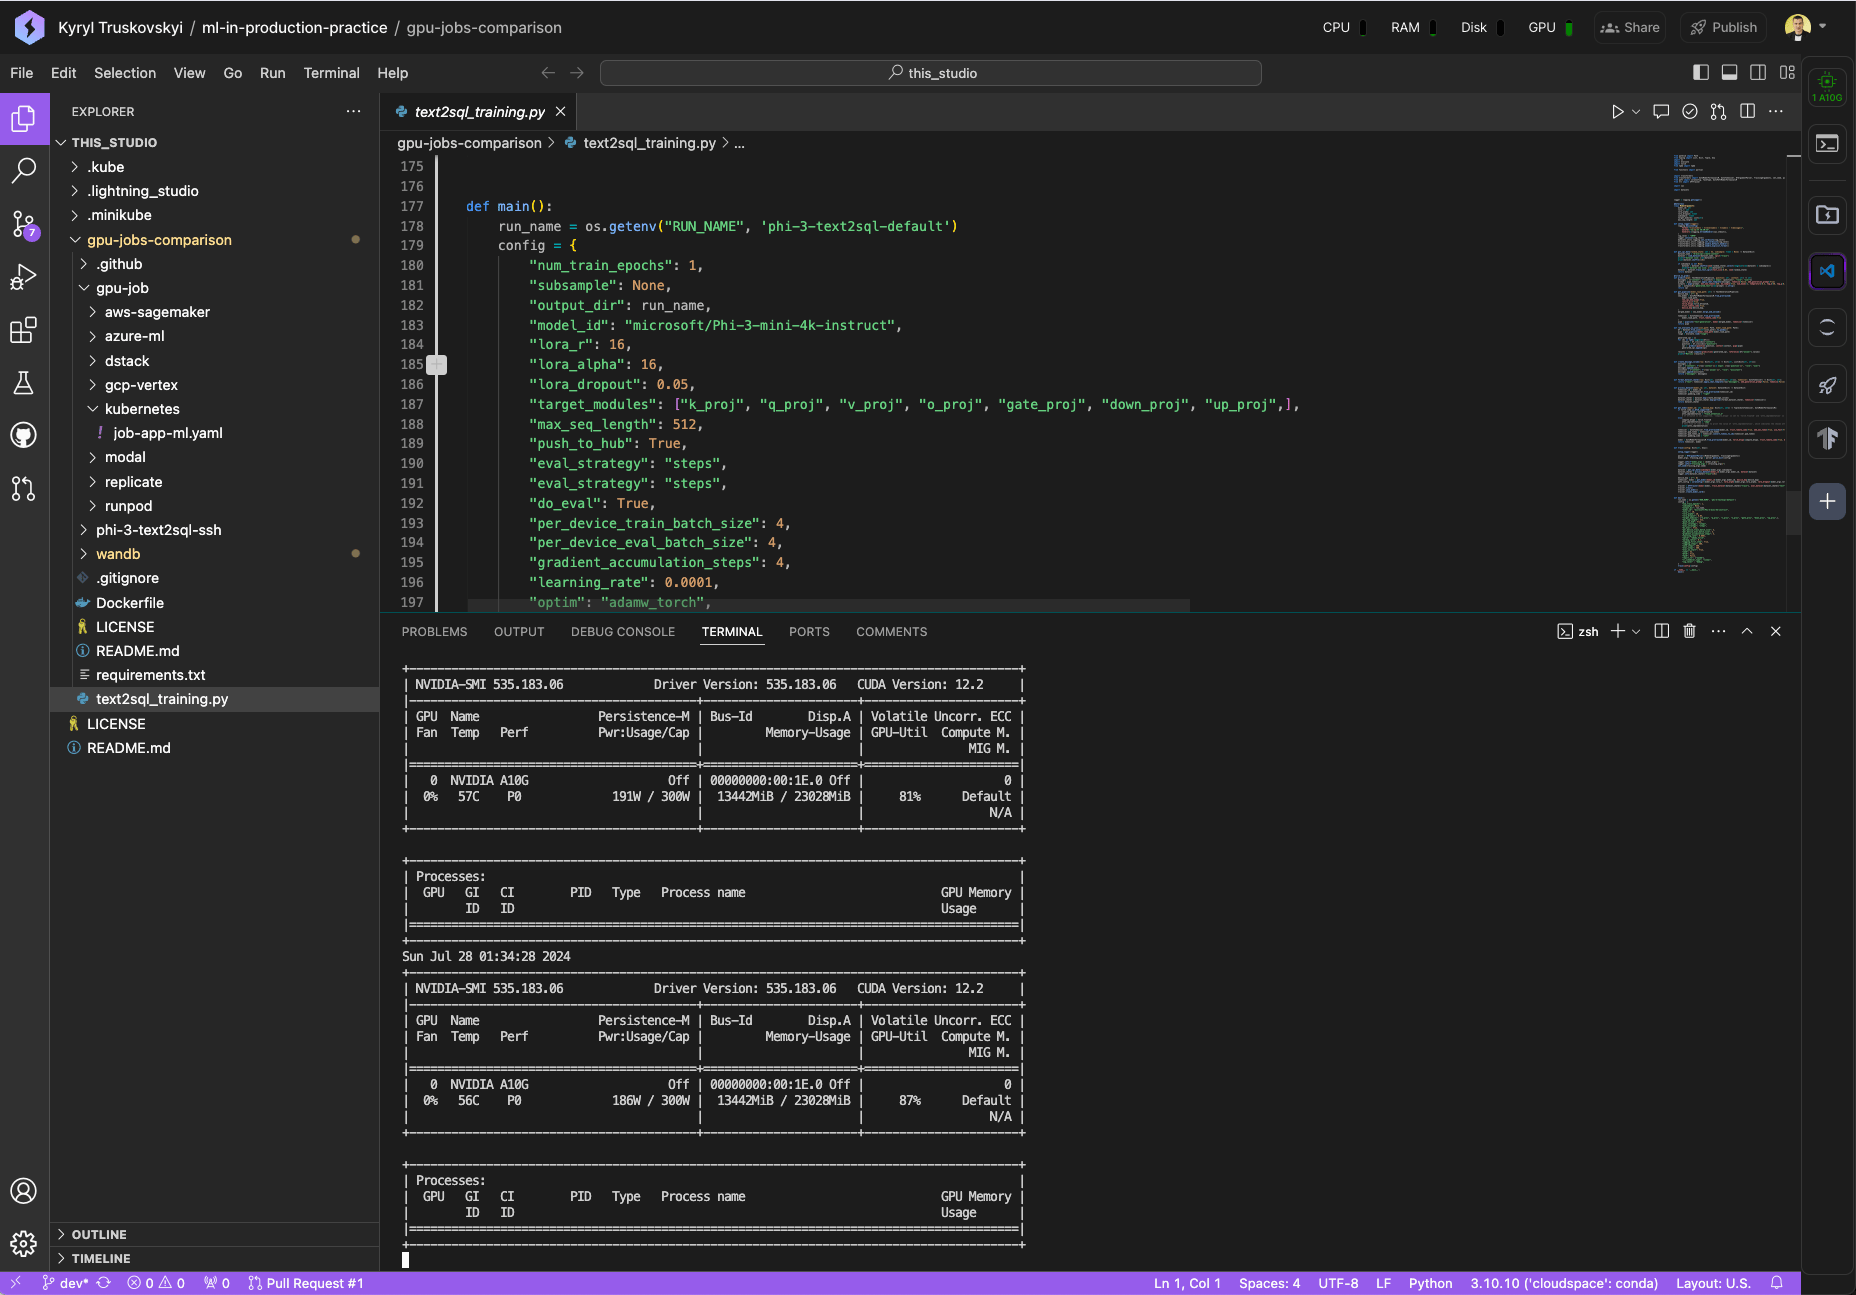
Setup Effort: You need to get a machine somewhere; it might be any cloud provider like AWS EC2, GCP Compute Engine, Azure VM, etc. You can also go to Lambda Labs. Alternatively, you might have a GPU station at home or the office. I personally use Lightning Studio because I love the VS Code experience there. You can get a similar setup with any hardware provider using tools like Coder and similar products.
Dev UX: What can I say here? SSH is SSH; all tools know how to work with it, whether it’s VS Code, PyCharm, Jupyter etc. The development user experience is just great.
Scalability: I don’t think this is very scalable. When you have a lot of teammates, it might be hard to share the same VMs, GPUs, logs, and results. So, you would need to bring something on top of it, like Lightning Studio, scheduler or a product like Coder.
Price: I used an A10 GPU from Lightning Studio, and the end-to-end run took me 1h 26m 7s, costing ~$2.43 USD.
Overall: A very strong option, but not scalable.

Kubernetes
Next option is Kubernetes. Why not run your training as a pod? Especially since Kubernetes has nice integration with GPUs, including fractional GPUs.
There are many Kubernetes providers out there; every cloud provider has its own distribution. For my experiment, I used Minikube with GPU support on the same Lightning Studio and just pretended it was some kind of remote cluster.
And because my workload is an actual job, I created a Kubernetes Job instead Pod resource to run it.
Flow:
Replace this with actual Kubernetes cluster creation:
sudo nvidia-ctk runtime configure --runtime=docker && sudo systemctl restart docker
minikube start --driver docker --container-runtime docker --gpus all
Define YAML file for your Job:
apiVersion: batch/v1
kind: Job
metadata:
  name: phi-3-text2sql-k8s-job
spec:
  parallelism: 1
  template:
    spec:
      restartPolicy: Never
      containers:
        - image: ghcr.io/kyryl-opens-ml/gpu-jobs-comparison:latest
          name: training
          env:
            - name: HF_TOKEN
              valueFrom:
                secretKeyRef:
                  name: gpu-job-secrets
                  key: HF_TOKEN
            - name: WANDB_PROJECT
              value: gpu-jobs-comparison
            - name: WANDB_API_KEY
              valueFrom:
                secretKeyRef:
                  name: gpu-job-secrets
                  key: WANDB_API_KEY
            - name: RUN_NAME
              valueFrom:
                fieldRef:
                  fieldPath: metadata.name
          command: ["python"]
          args: ["text2sql_training.py"]
          resources:
            limits:
              nvidia.com/gpu: 1
Create secret and run actual training:
kubectl create secret generic gpu-job-secrets --from-literal=HF_TOKEN=$HF_TOKEN --from-literal=WANDB_API_KEY=$WANDB_API_KEY

kubectl create -f gpu-job/kubernetes/job-app-ml.yaml
and I also like to use tools like k9s to monitor my cluster state.


Setup Effort: Even though it’s easy to get Kubernetes nowadays on any cloud platform, installing and supporting it on-premises is not easy and requires expertise. Configuring autoscaling, assigning instances, and communicating with the cluster API necessitates knowledge of Kubernetes. While it’s not impossible to learn, it will require you to spend some time. So, I would classify the setup effort as hard.
Developer UX: This depends on your familiarity with the Kubernetes client. I find it manageable, but you need to spend some time with it and learn about Pods, Jobs, etc. The most annoying thing for me is selecting the right configuration system for your training. For example, if you need to change the batch size and this parameter is hardcoded inside your YAML, JSON, or code, you need to rebuild the Docker image and run it again, which is very slow.
Scalability: This is a strong point of Kubernetes; you can achieve a highly scalable system with it.
Price: The compute price for Kubernetes is the same as SSH. Running Kubernetes took me 1h 23m 24s, costing ~$2.43 for VM itself. On a major cloud provider, you also need to pay for the Kubernetes cluster itself, which costs $0.10 per hour on AWS. So, the total price would be $72 per month for the Kubernetes cluster, plus approximately $2.43 for each training session similar to this one.
Overall: A strong but hard to learn option.
Modal
This one is interesting. It looks like Docker-based but allows you to avoid using Docker files. It resembles Kubernetes but feels very local. For some exotic use cases, you might miss having full control, but the UX is amazing! Here’s my flow with it:
Install client and run setup:
pip install modal
modal setup
Deploy the training function:
import os

import modal
from modal import Image

app = modal.App("gpu-jobs")
env = {
    "WANDB_PROJECT": os.getenv("WANDB_PROJECT"),
    "WANDB_API_KEY": os.getenv("WANDB_API_KEY"),
    "HF_TOKEN": os.getenv("HF_TOKEN"),
    "RUN_NAME": os.getenv("RUN_NAME"),
}
custom_image = Image.from_registry("ghcr.io/kyryl-opens-ml/gpu-jobs-comparison:latest").env(env)


@app.function(image=custom_image, gpu="a10g", timeout=10 * 60 * 60)
def run_training():
    from text2sql_training import main
    main()


def run_from_python():
    fn = modal.Function.lookup("gpu-jobs", "run_training")
    fn_id = fn.spawn()
    print(f"Run training object: {fn_id}")


if __name__ == "__main__":
    run_from_python()
export HF_TOKEN=****
export WANDB_PROJECT=gpu-jobs-comparison
export WANDB_API_KEY==****
export RUN_NAME=phi-3-text2sql-modal
modal deploy ./gpu-job/modal/run_training_job.py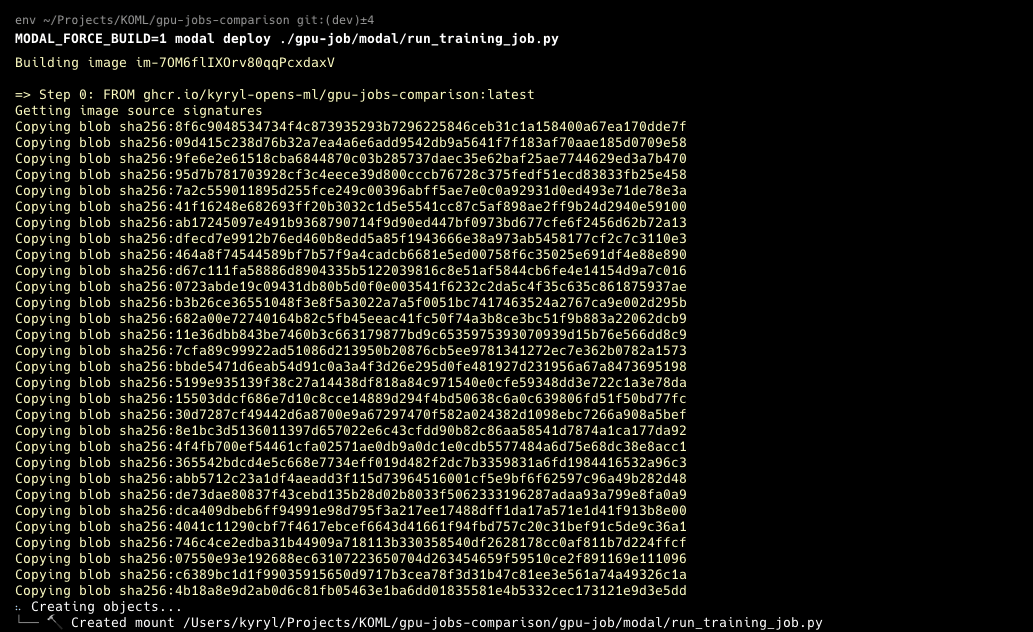
Run training from Python:
python ./gpu-job/modal/run_training_job.pyAfter, just want the output:
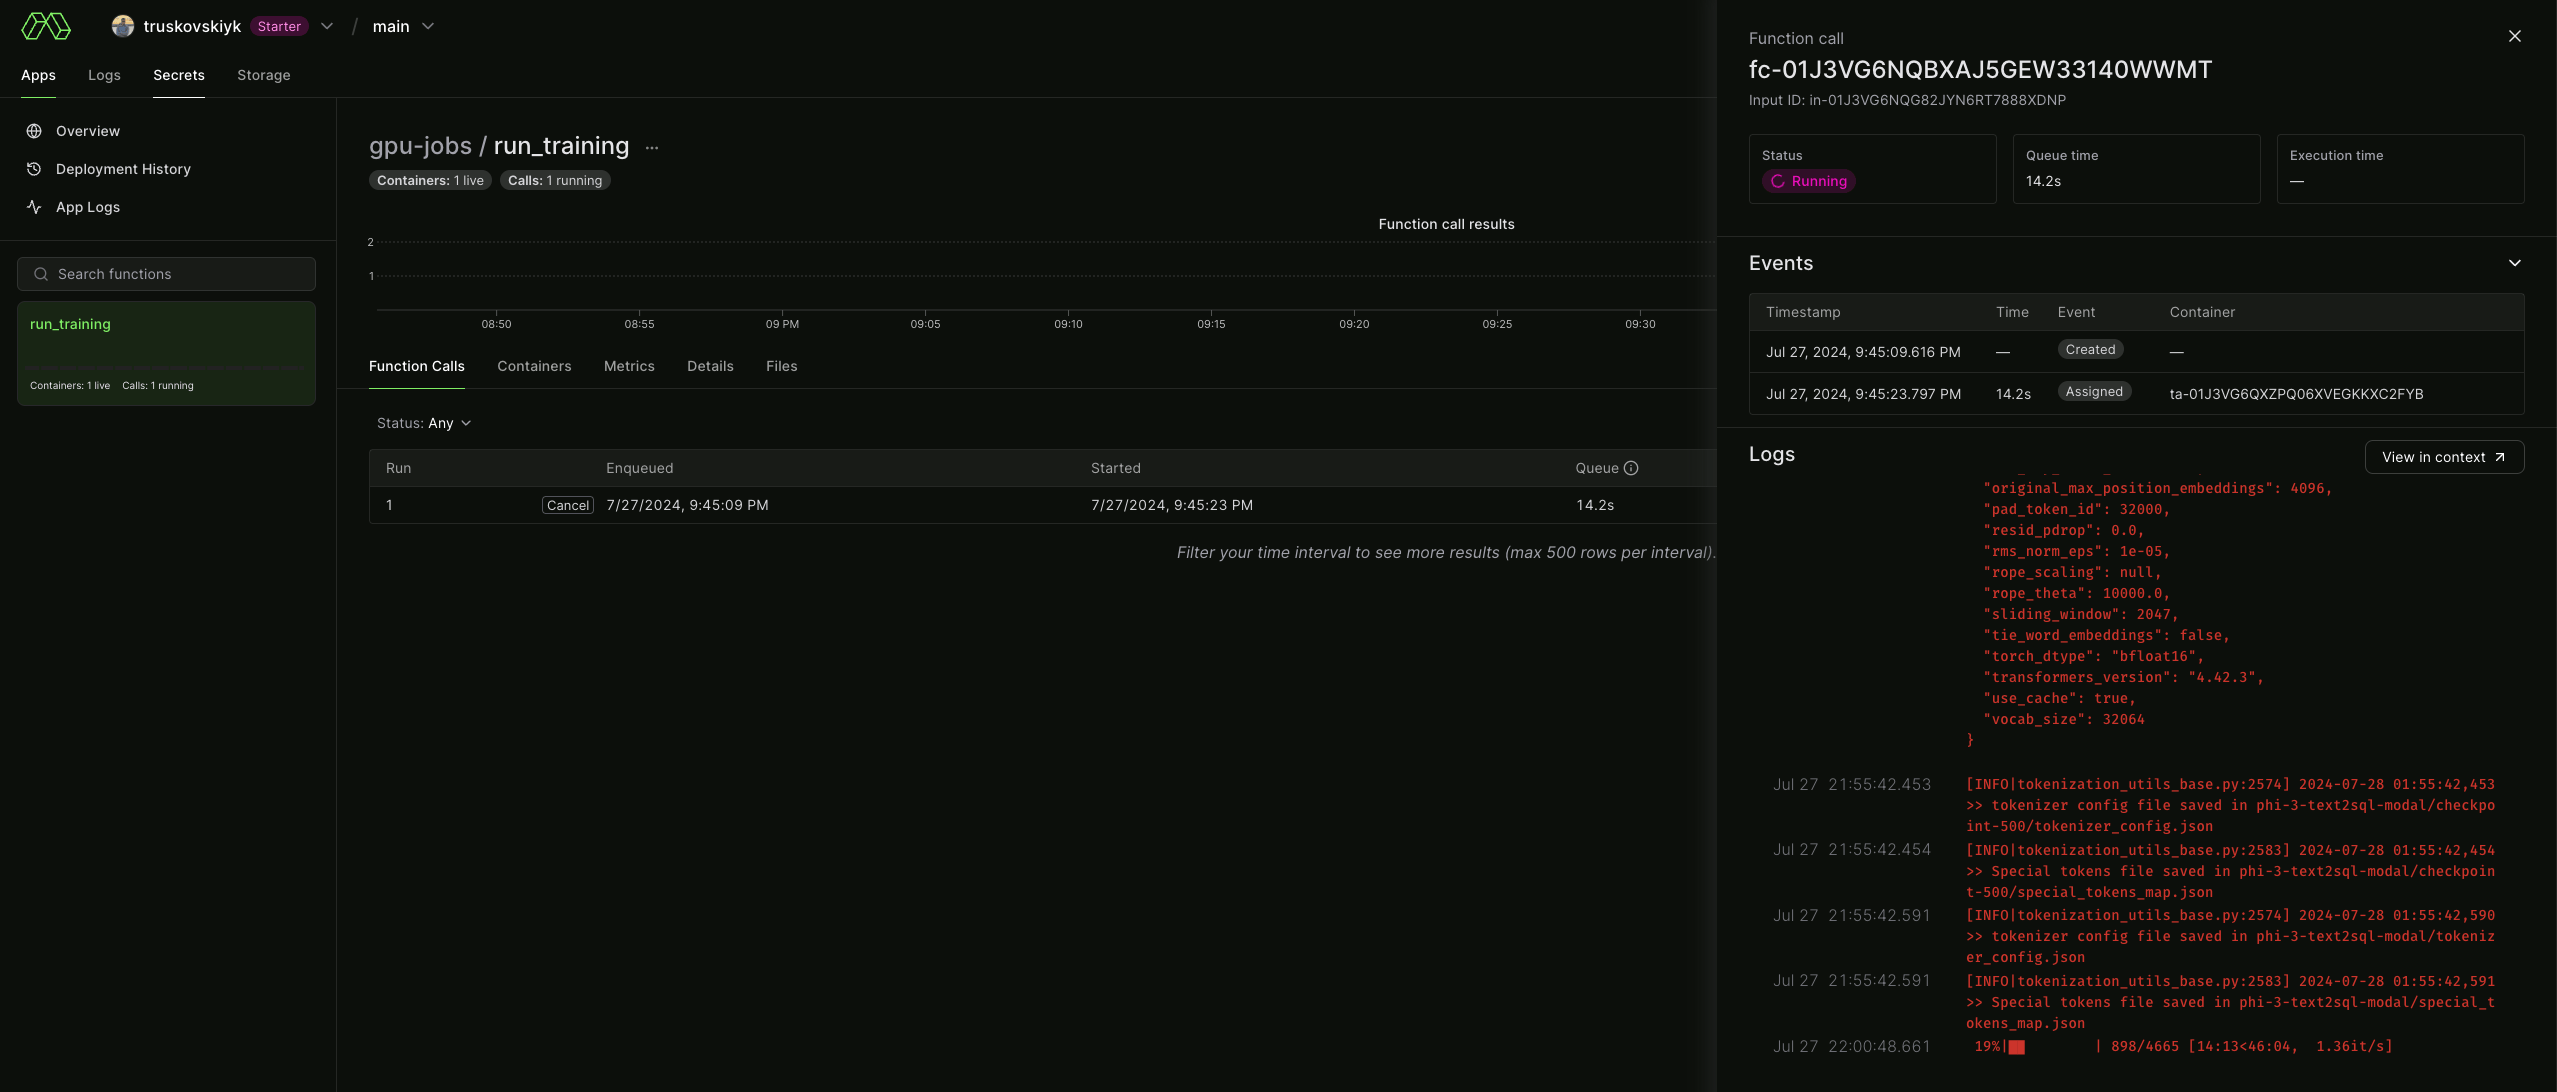
And monitoring metrics
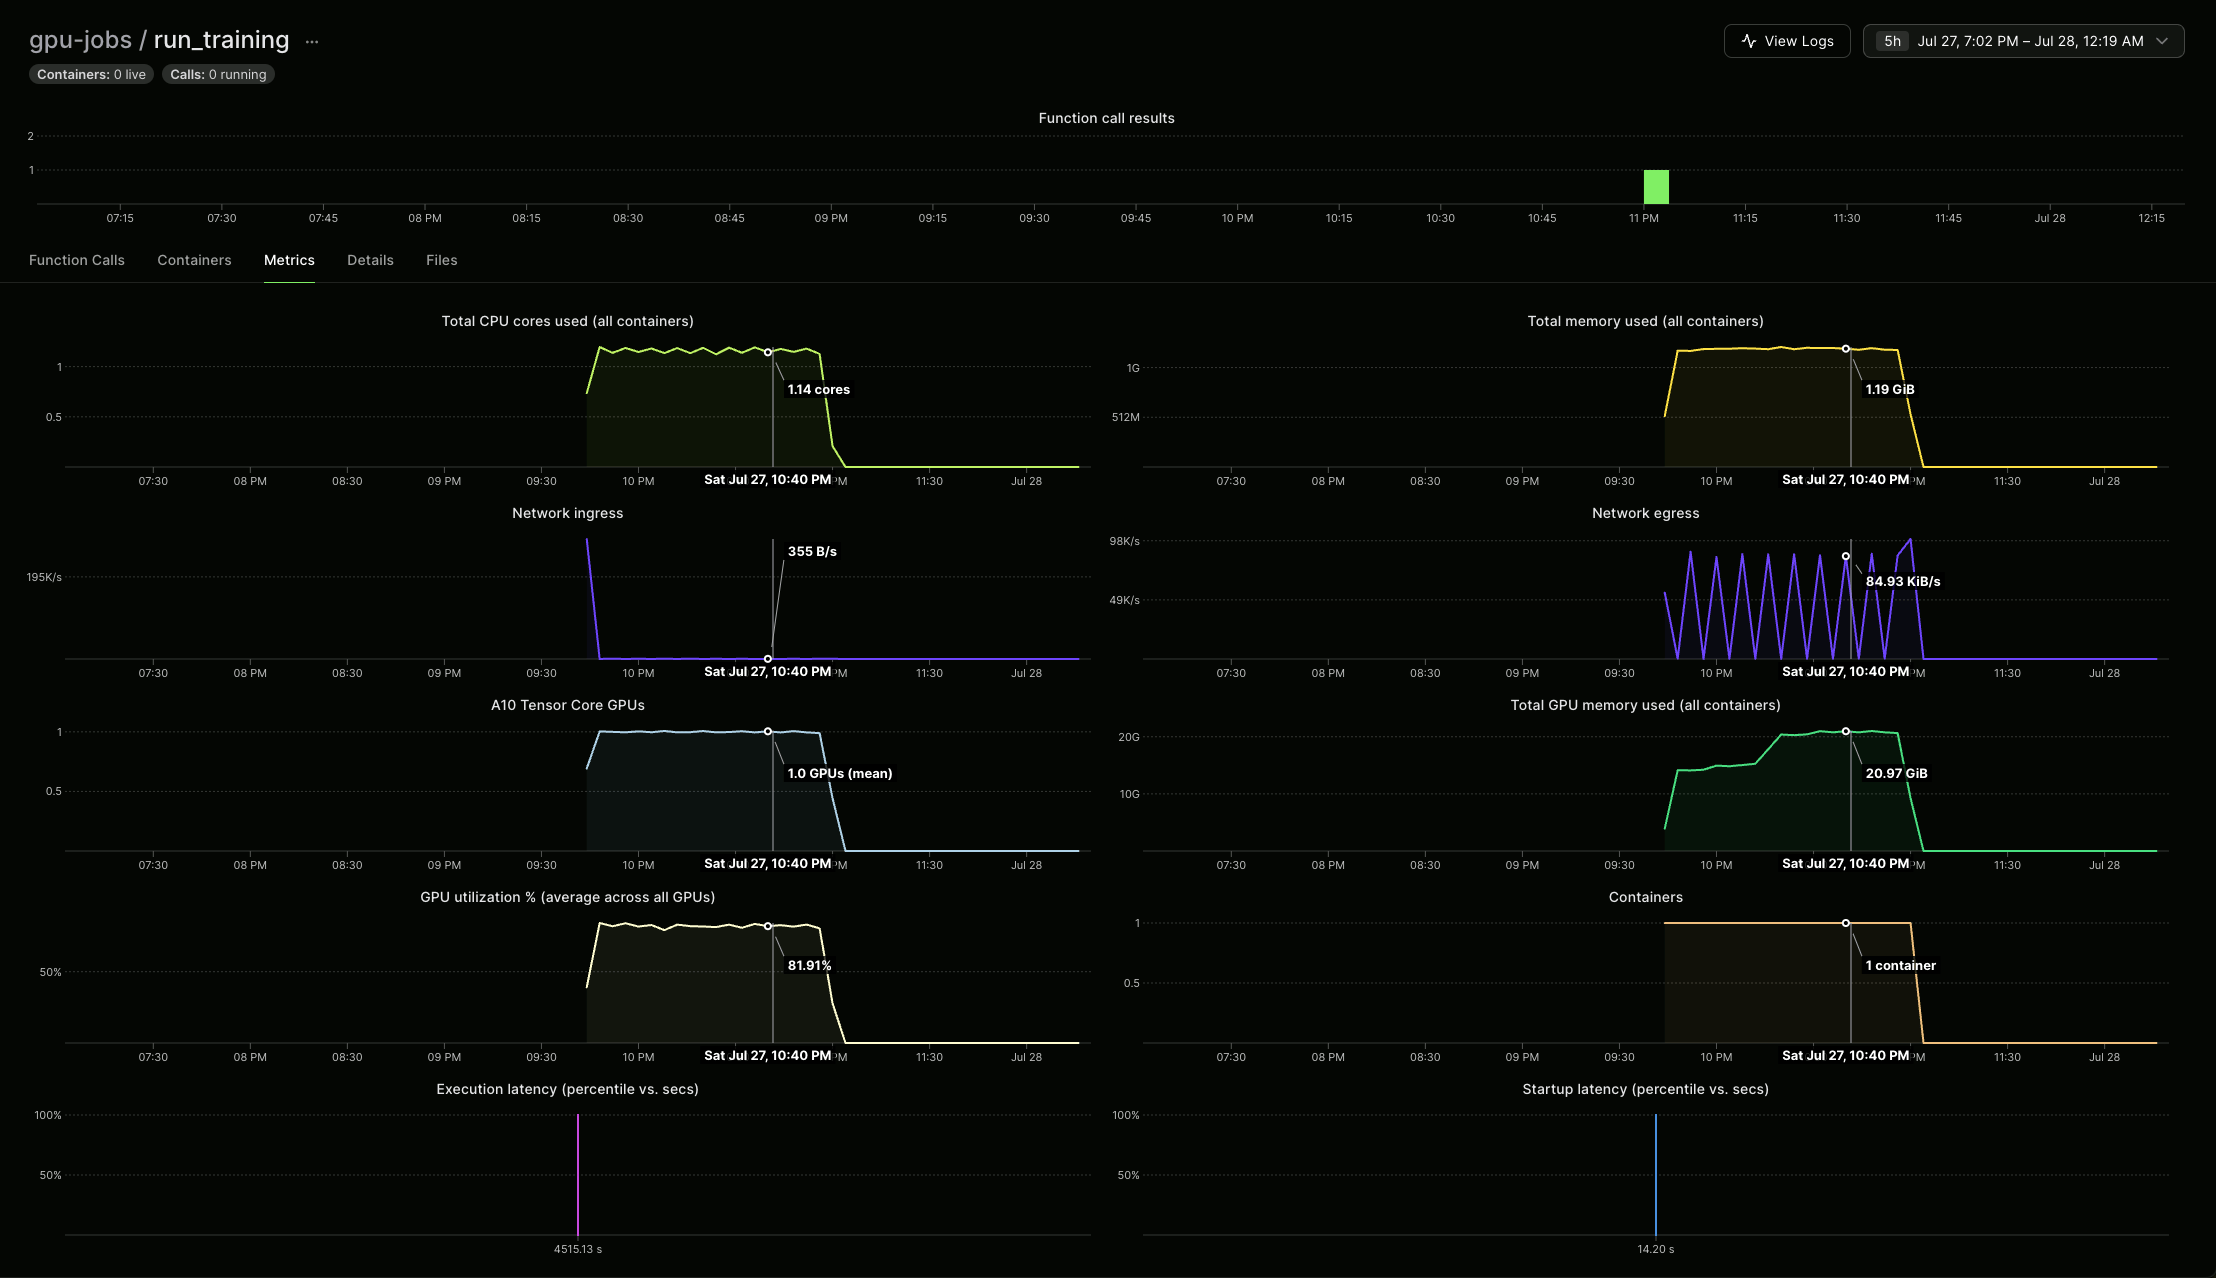
Setup Effort: It’s seamless; you just install the Python package and get the token. No knowledge or learning curve is required. If you know Python, you know Modal.
Developer UX: Top-notch, one of my favorites. At first, you may wonder why imports are happening inside your Python function, but once you understand it, it’s worth it.
Scalability: Pretty similar to Kubernetes in terms of scalability, so very strong here.
Price: run was 1h 15m 5s – so it cost me $1.65 (Modal recently dropped prices).
Overall: Top product. The only flaw I see is that it’s not open source, but I guess that’s okay for infrastructure companies.

AWS SageMaker
Good old AWS. You can go into “SSH into VM” route, or you can create a Kubernetes cluster with an autoscaling GPU node pool. There are many different options!
But the one I will look at today is the SageMaker processing job.

Why choose a processing job over a training job? Because a processing job seems much more suitable for me. It provides GPU support and is very straightforward, while a training job requires implementing some interfaces that I want to avoid.
Here is my flow with AWS SageMaker:
First, create an AWS account and request a quota for a GPU machine.
Setup looks like this:
pip install boto3 sagemaker awscli

export AWS_ACCESS_KEY_ID=****
export AWS_SECRET_ACCESS_KEY=****
export AWS_DEFAULT_REGION=us-east-1
export AWS_ACCOUNT_ID=****
You would need a role to execute SageMaker jobs from Python:
aws iam create-role --role-name sagemaker-execution-role --assume-role-policy-document file://gpu-job/aws-sagemaker/trust-policy.json

aws iam attach-role-policy --role-name sagemaker-execution-role --policy-arn arn:aws:iam::aws:policy/AmazonSageMakerFullAccess

aws iam attach-role-policy --role-name sagemaker-execution-role --policy-arn arn:aws:iam::aws:policy/AmazonEC2ContainerRegistryFullAccess
Where a trust-policy.json file looks like this:
{
    "Version": "2012-10-17",
    "Statement": [
      {
        "Effect": "Allow",
        "Principal": {
          "Service": "sagemaker.amazonaws.com"
        },
        "Action": "sts:AssumeRole"
      }
    ]
  }
Role with permissions policies:

Unfortunately, SageMaker requires using Docker images from the AWS registry, so I need to copy my image from the GitHub registry to Amazon ECR:
aws ecr get-login-password --region $AWS_DEFAULT_REGION | docker login --username AWS --password-stdin $AWS_ACCOUNT_ID.dkr.ecr.$AWS_DEFAULT_REGION.amazonaws.com
aws ecr create-repository --repository-name gpu-jobs-comparison
docker pull ghcr.io/kyryl-opens-ml/gpu-jobs-comparison:latest
docker tag ghcr.io/kyryl-opens-ml/gpu-jobs-comparison:latest $AWS_ACCOUNT_ID.dkr.ecr.$AWS_DEFAULT_REGION.amazonaws.com/gpu-jobs-comparison:latest
docker push $AWS_ACCOUNT_ID.dkr.ecr.$AWS_DEFAULT_REGION.amazonaws.com/gpu-jobs-comparison:latest
This is what a Docker image on Amazon ECR should look like:

And now we are ready to start training!
export HF_TOKEN=****
export WANDB_PROJECT=gpu-jobs-comparison
export WANDB_API_KEY=****
export RUN_NAME=phi-3-text2sql-sagemaker
python ./gpu-job/aws-sagemaker/run_processing.py
With this code:
from sagemaker.processing import Processor
import os


env = {
    "WANDB_PROJECT": os.getenv("WANDB_PROJECT"),
    "WANDB_API_KEY": os.getenv("WANDB_API_KEY"),
    "HF_TOKEN": os.getenv("HF_TOKEN"),
    "RUN_NAME": os.getenv("RUN_NAME"),
}

sagemaker_role_arn = f"arn:aws:iam::{os.getenv('AWS_ACCOUNT_ID')}:role/sagemaker-execution-role"
iamge_uri = f"{os.getenv('AWS_ACCOUNT_ID')}.dkr.ecr.{os.getenv('AWS_DEFAULT_REGION')}.amazonaws.com/gpu-jobs-comparison:latest"

processor = Processor(
    role=sagemaker_role_arn,
    image_uri=iamge_uri,
    instance_count=1,
    instance_type='ml.g5.2xlarge',
    env=env
)

# Define processing inputs and outputs (if any)
processing_inputs = []
processing_outputs = []

processor.run(
    inputs=processing_inputs,
    outputs=processing_outputs,
    arguments=['python', 'text2sql_training.py']
)
UI view of completed training:

Setup Effort: First, you need an AWS account and to request a quota for a GPU, which sometimes takes time. For me, it was very fast, and my quota request was approved quickly. However, that’s not all—you also need to understand AWS roles, how to use them, and how AWS SageMaker collaborates with other AWS services.
Dev UX: The developer experience is okay, I would say. It’s somewhat similar to Modal/K8S, but not as fast and smooth. Sometimes debugging and troubleshooting take time. They are very opinionated about how you should run ML training, which I don’t like. Logs and the speed of iteration are the biggest pain points.
Scalability: I would rate it strong here. I don’t think you’ll encounter any issues with scaling on AWS, unless you need to wait for more quotas.
Price: Training took me 1 hour, 23 minutes, and 55 seconds, and my AWS console shows a price tag of $2.24 for SageMaker.
Overall: Good and scalable product, but the Dev UX is what I am unhappy with most of the time.
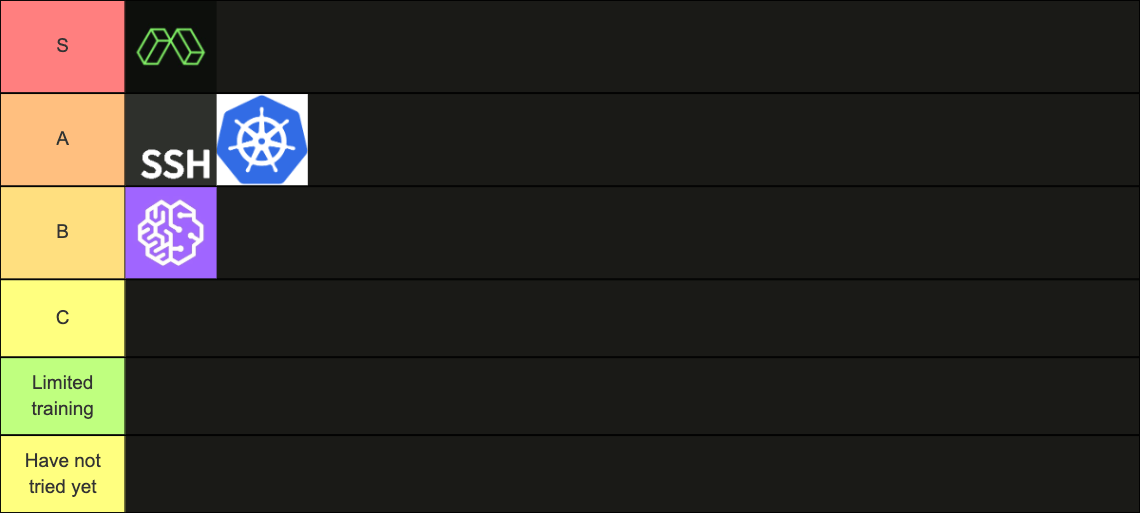
Keeping all picture together
For the next blog, I will do the same exercise with:
But my initial thoughts only after reading the documentation are:

Let’s see if it is the same after I try it all!
Takeaways
This was quite a journey, wasn’t it! Now you know how to run LLM training in 4 different ways with almost the same results!
| Approach | Setup effort | Dev UX | Scalability | Price USD |
| SSH | 🛋️-⚖️ | 4/5 | 1/5 | ~2.43 |
| Modal | 🛋️ | 5/5 | 5/5 | ~1.65 |
| K8S | ⚖️-🏋️♂️ | 3/5 | 5/5 | ~2.43 |
| SageMaker | ⚖️ | 3/5 | 5/5 | ~2.24 |
🛋️ – easy, ⚖️ – medium, 🏋️♂️ – hard

Follow up
If you’ve reached this point in my blog, wow, that’s great! If you liked what you saw here and want to dive deeper into the intricacies of running experiments and building ML systems in production, consider enrolling in my mini-course about Experiments. This course will give you a detailed understanding of running experiments efficiently.
For those who want to master the entire journey of ML in production from start to finish, my full course “Machine Learning in Production” offers comprehensive coverage of all essential aspects, including the Experiments module. Check out my webpage to explore these courses and learn more!